For this Blogger Tutorial I am going to show you how to add a signature to your blog. This is a super fun way to add a little personality to your blog! There a lots of free ways to add signatures to your blog, but the most common way I know of is through using Live Signature. I'm going to walk you through step by step, how to create a signature using their software and add it to your blog. If you already have a signature, you can join us when we are done with Live Signature.
If you want to set up an account you can, but for what we are doing... it's not necessary.
Enter your nameThey have LOADS of fonts to choose from and you can customize the color!
Pick a size
Pick an Angle, that's right... it's gettin Schnazzy now!
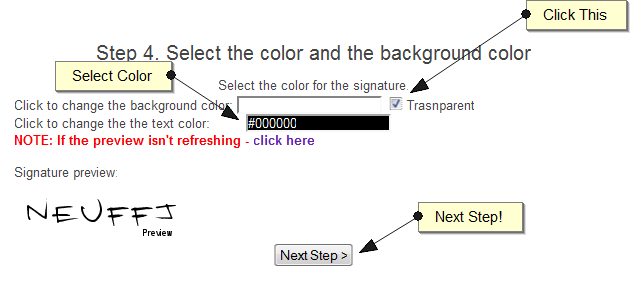
Now you get to Choose a Color, be sure you check the transparent background box. It makes for a cleaner look!
Admire your Schnazzy work! And save that puppy!
Lets get this code goin!
Pick the top option!
Then copy that code and save it!
We are Done with Live Signature!!! If you already had an image, you can join us now! Log in to your Blogger account and
Always backup your Template
Click the Expand Widget Templates
Search for This
Add your Code from Live Signature, or your image from photobucket/flickr etc. so that it looks like this!
Click Preview
It Should look like this
If not, then Save that Signature!


3 comments:
Thanks for the great information! Always can use new tips!
awesome it worked!! thanks so much
I'm so glad it worked! I'm coming to check it out!
Post a Comment